Walls and Insulation
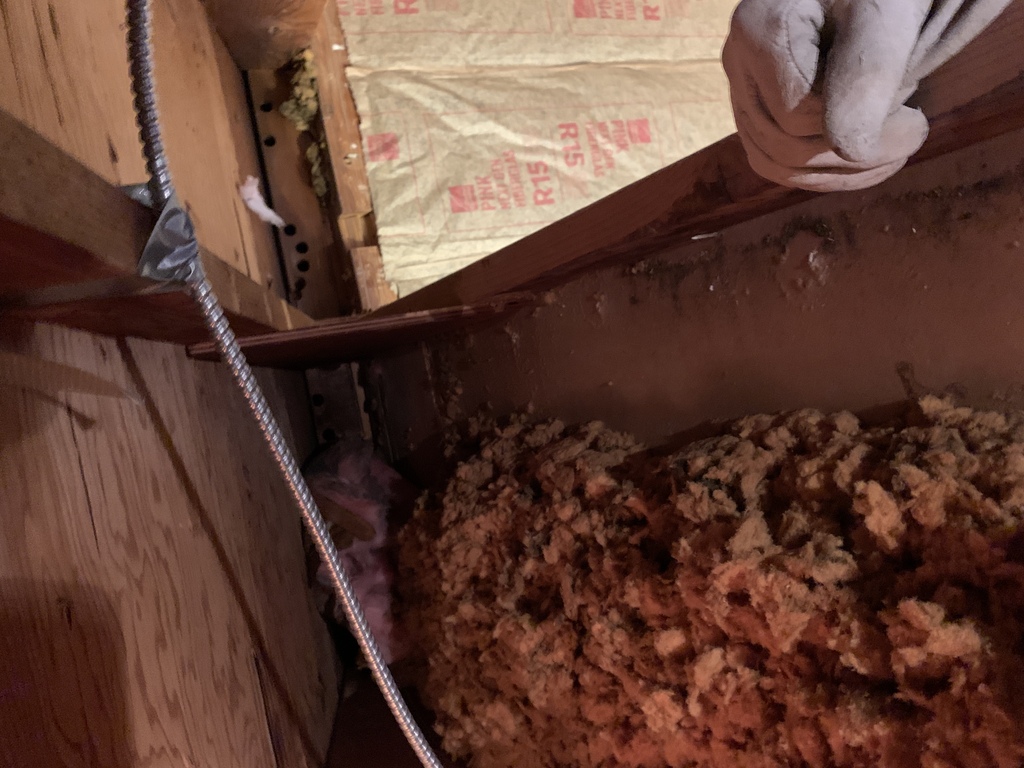
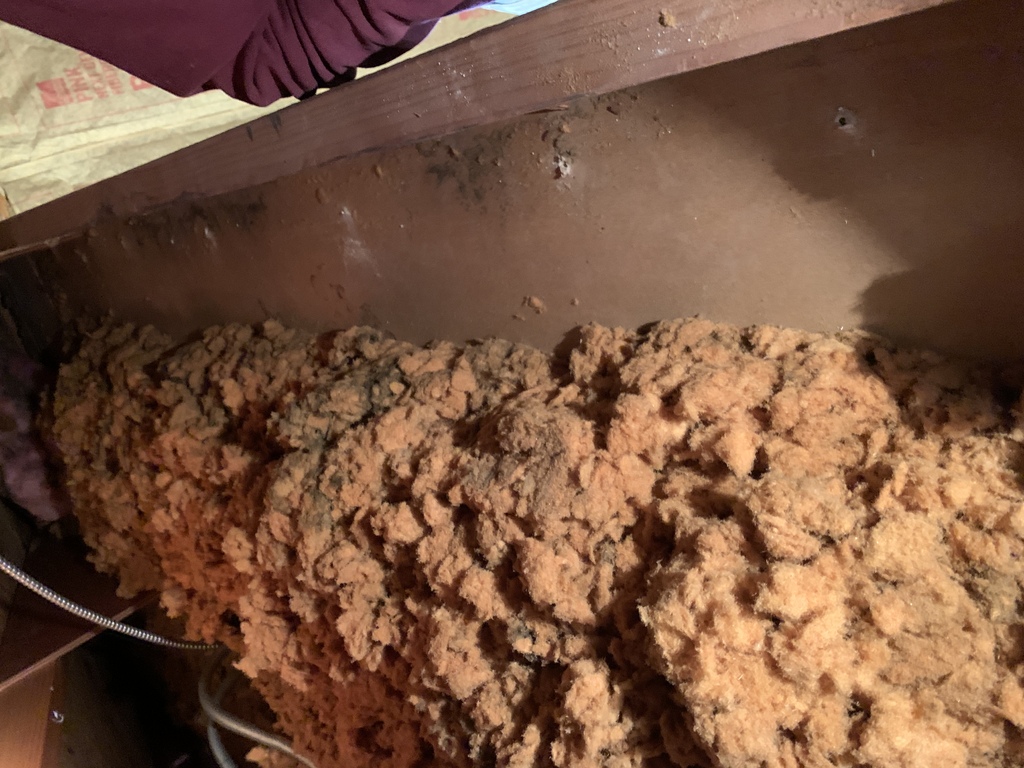
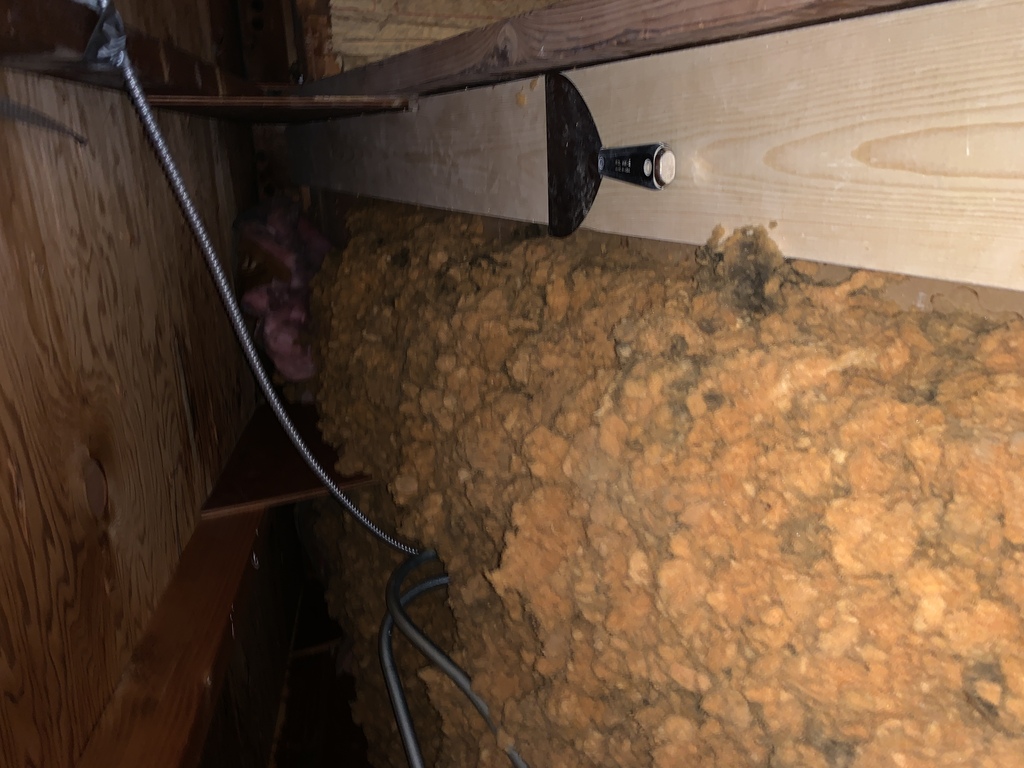
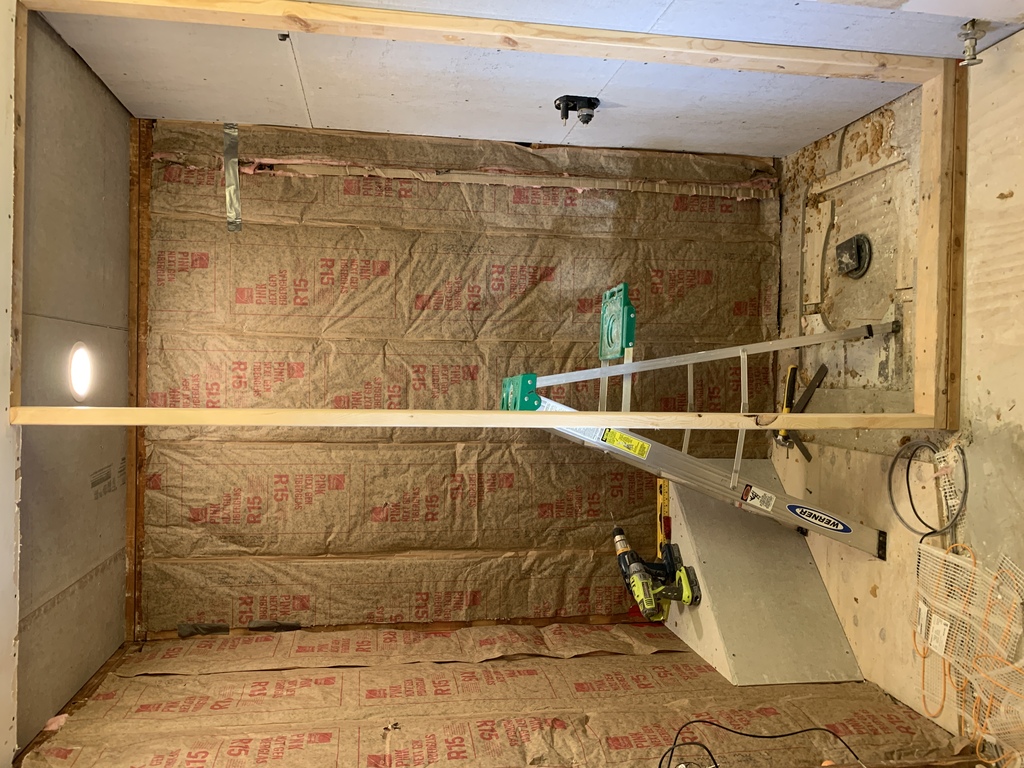
As I went along, it became clear that much of the insulation would need replacing.
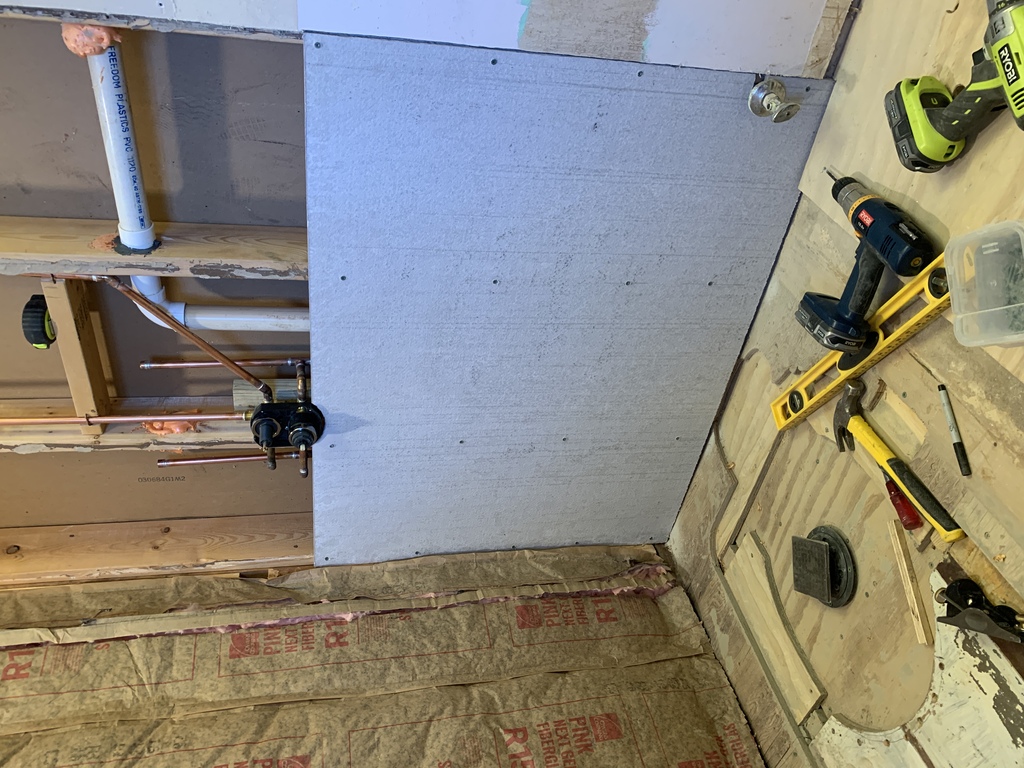
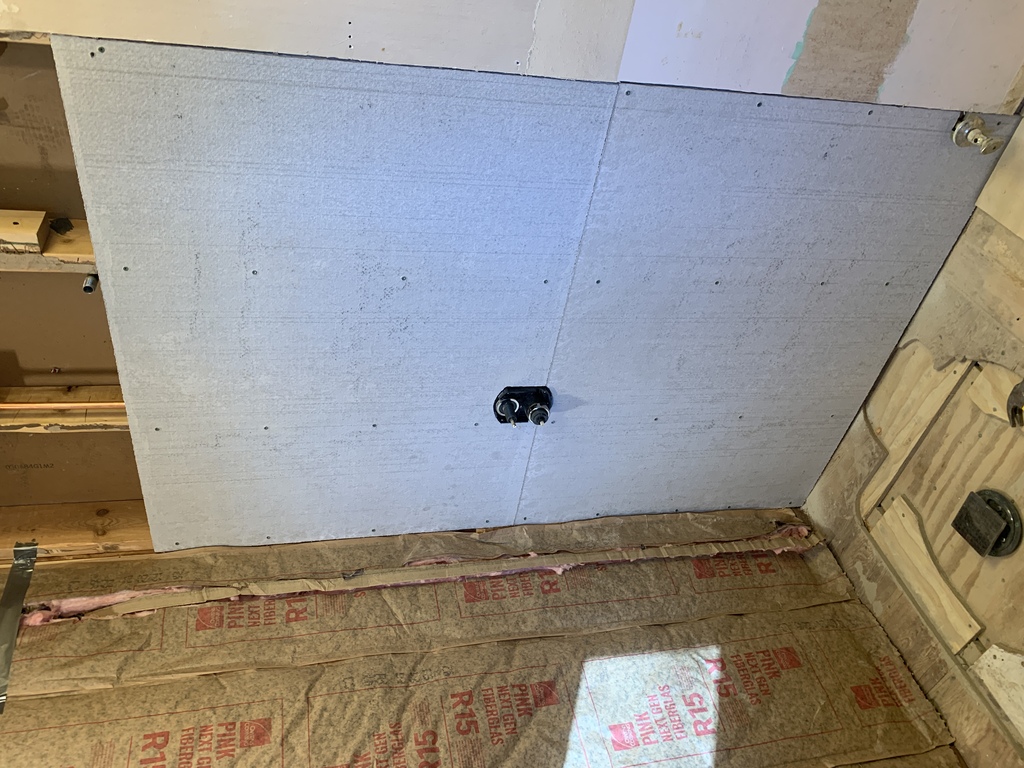
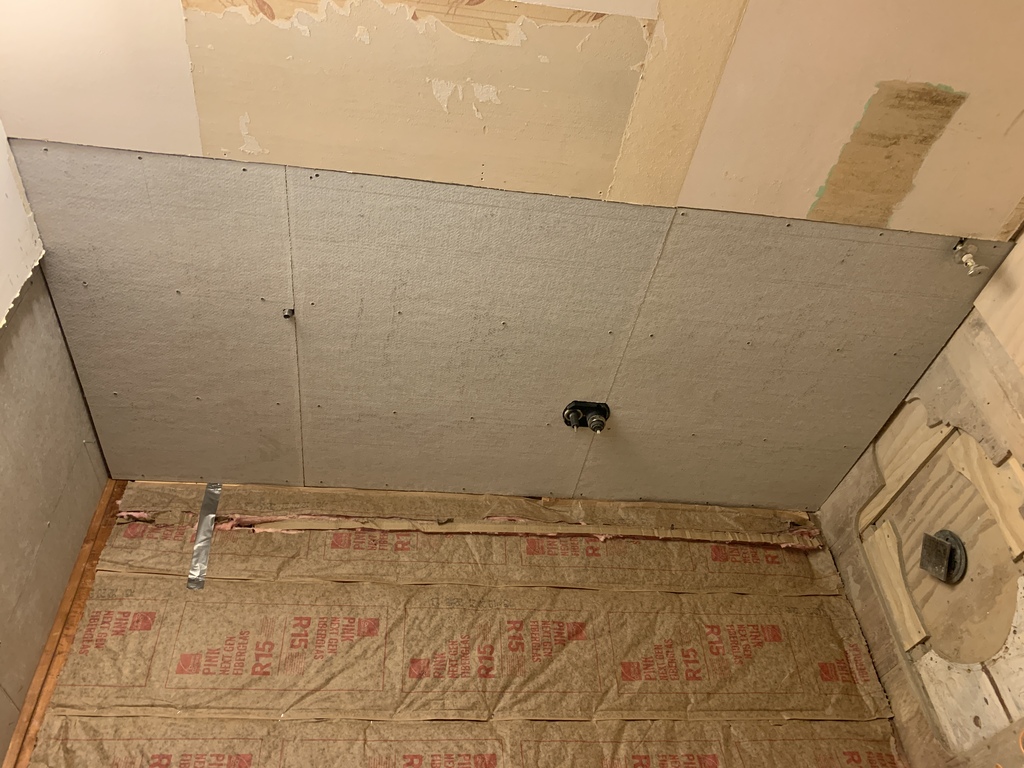
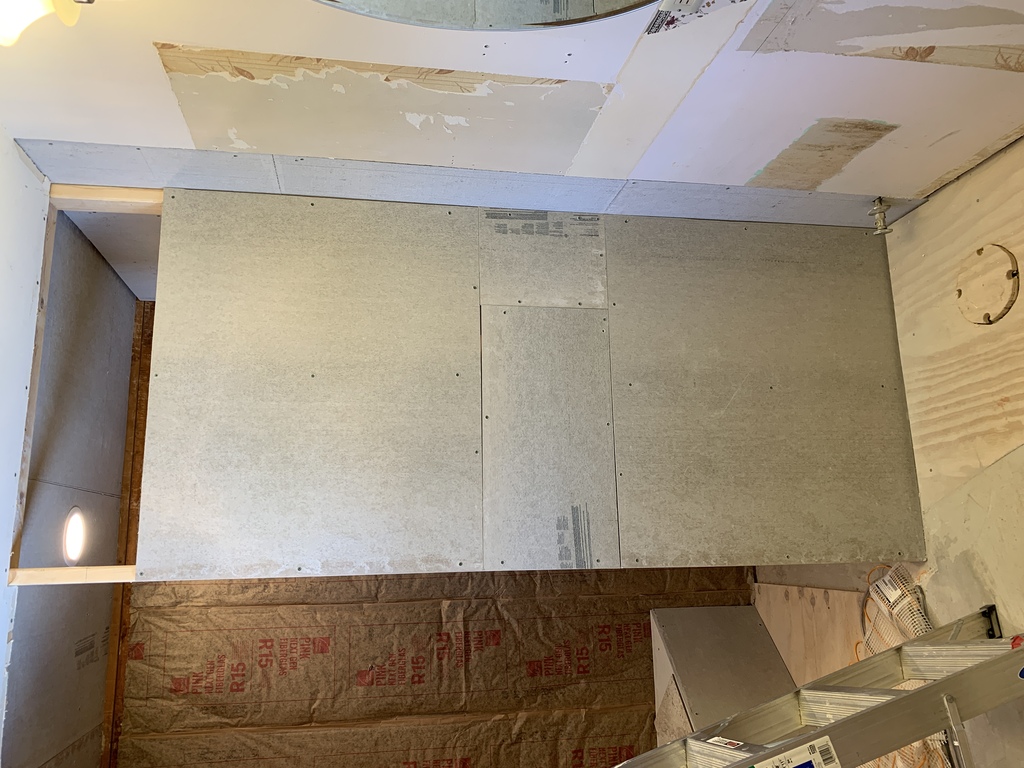
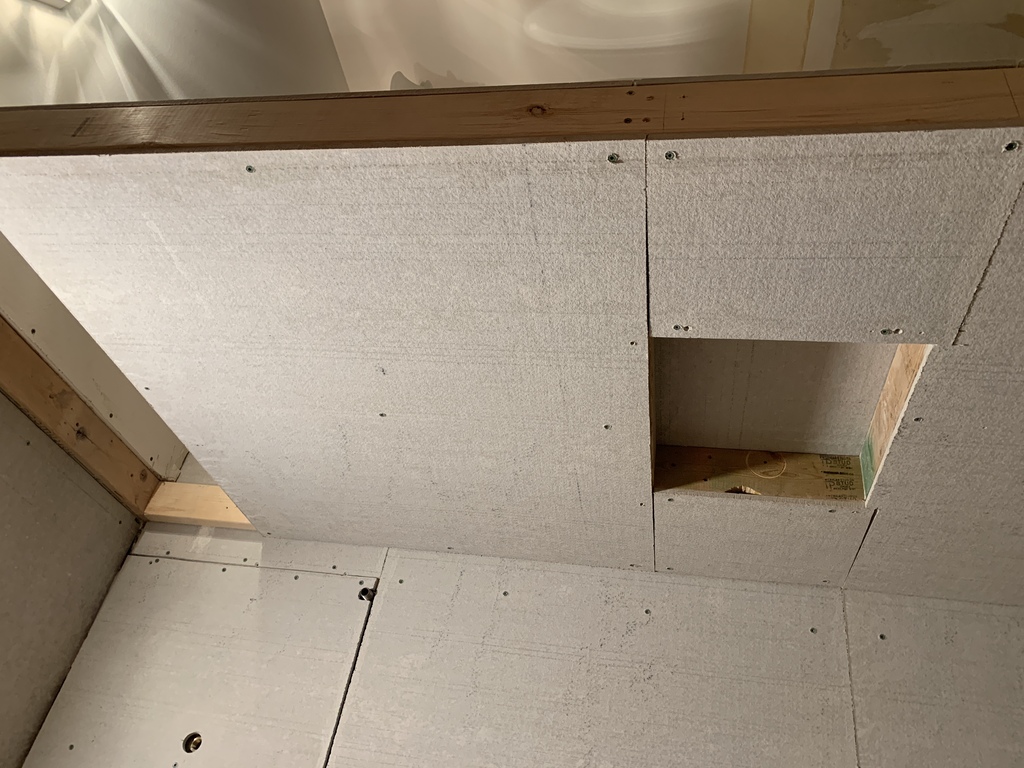
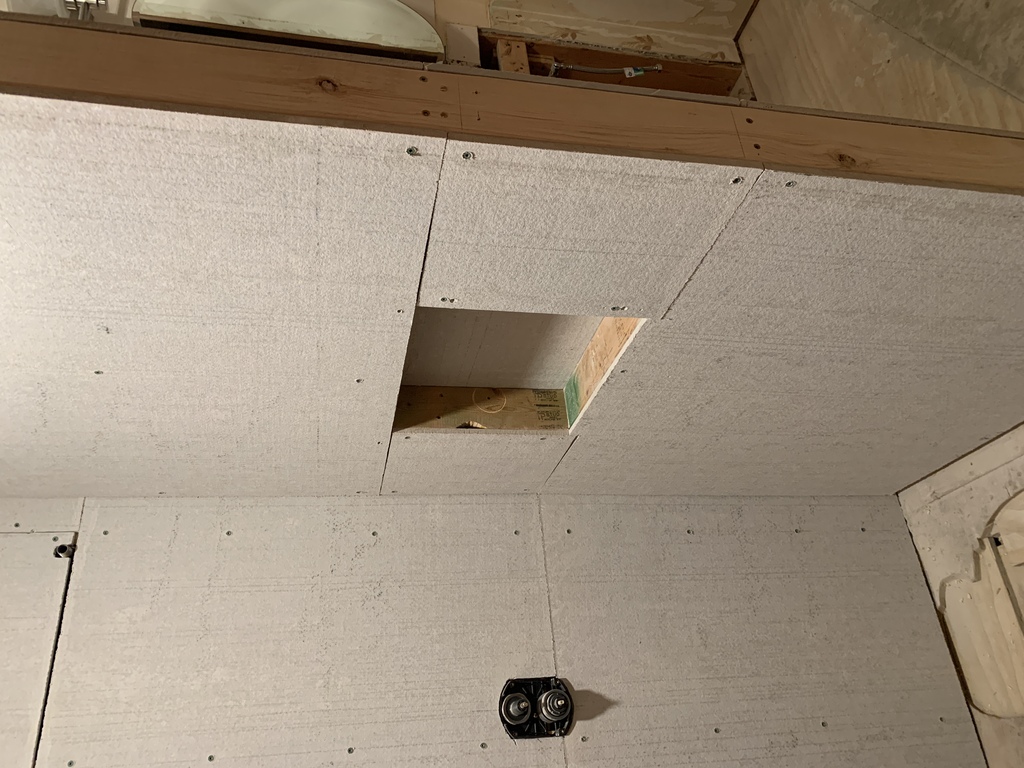
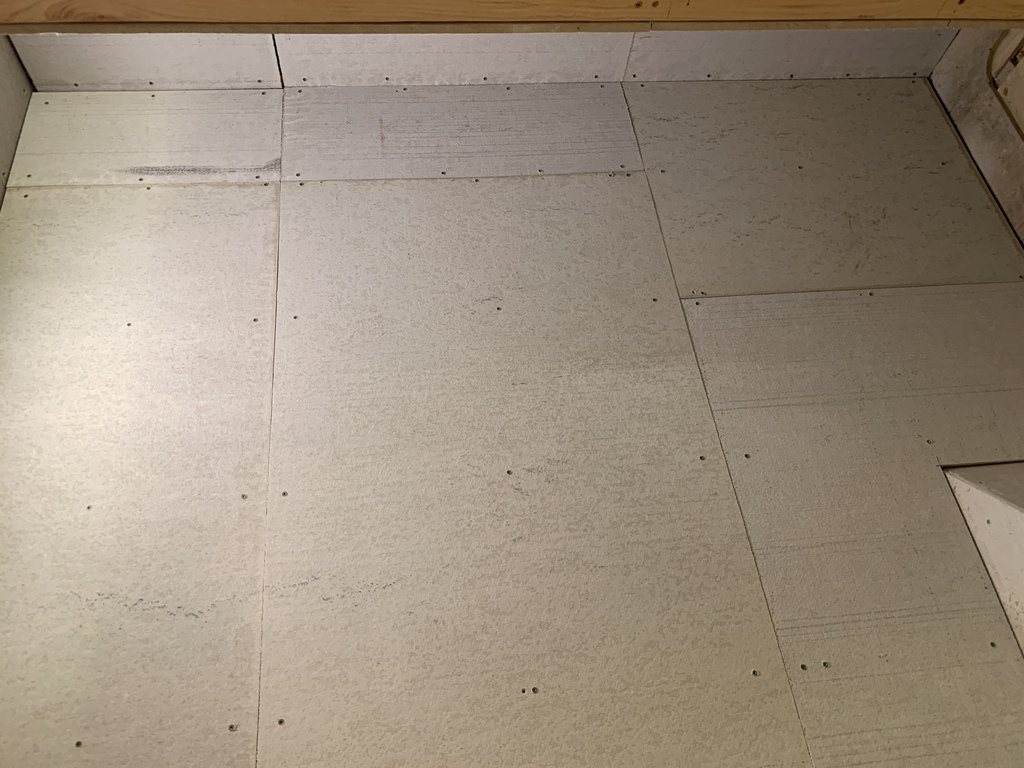
I initially brought home some MoldTough green drywall, but then discovered that it isn’t rated for showers. So I took back the 5 4x8 sheets, and went with 0.42“ “HardieBoard” cement backer board, which comes in 3’x5’ due to its weight.
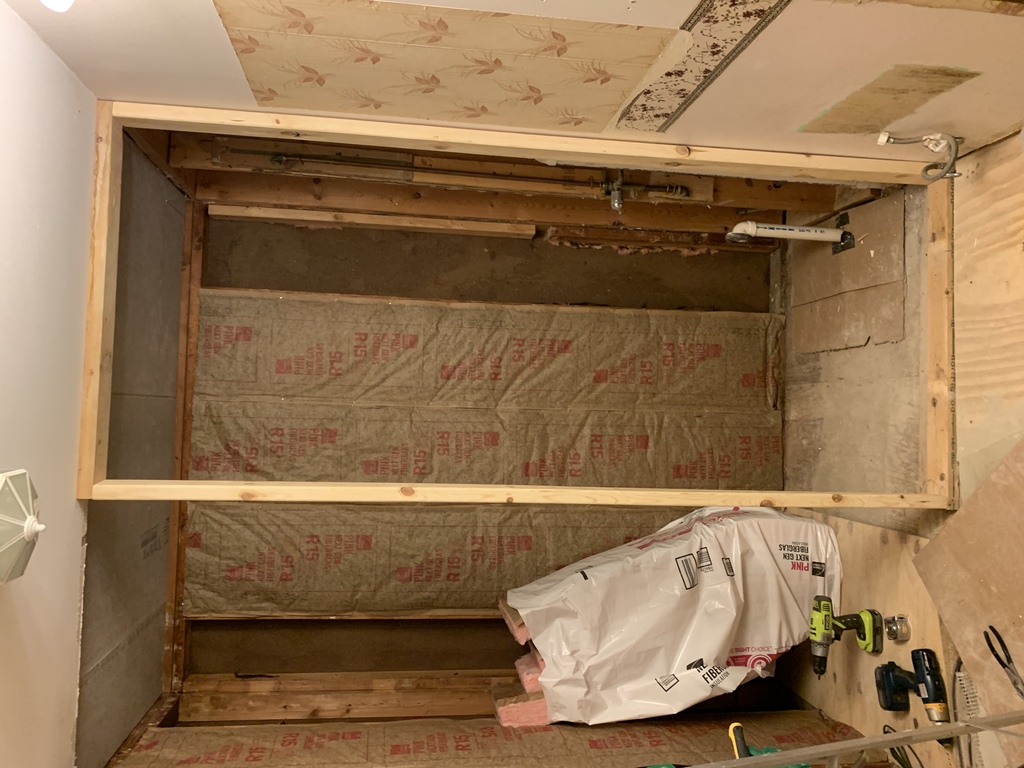
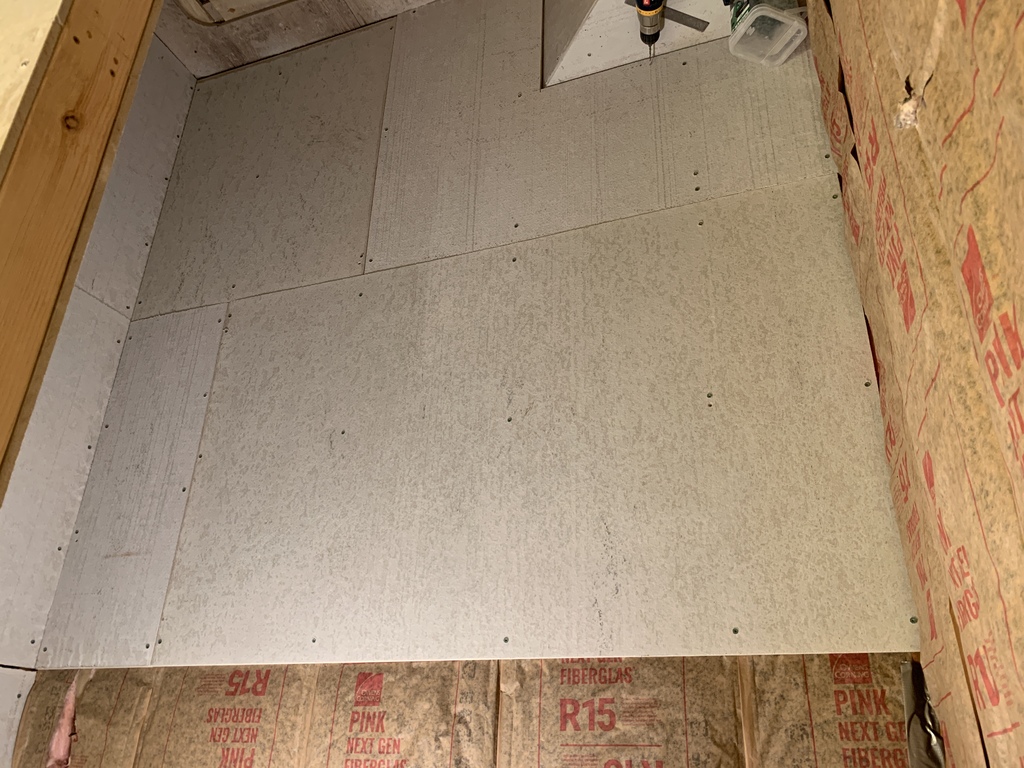
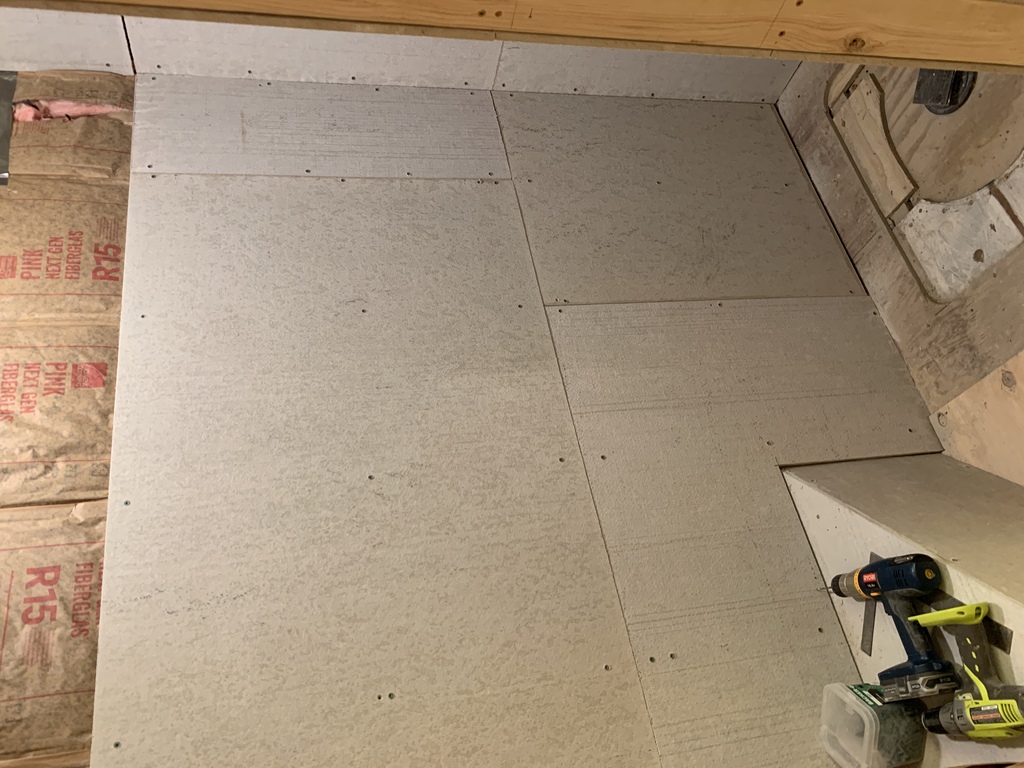
Insulation started going in on 19 Jan.
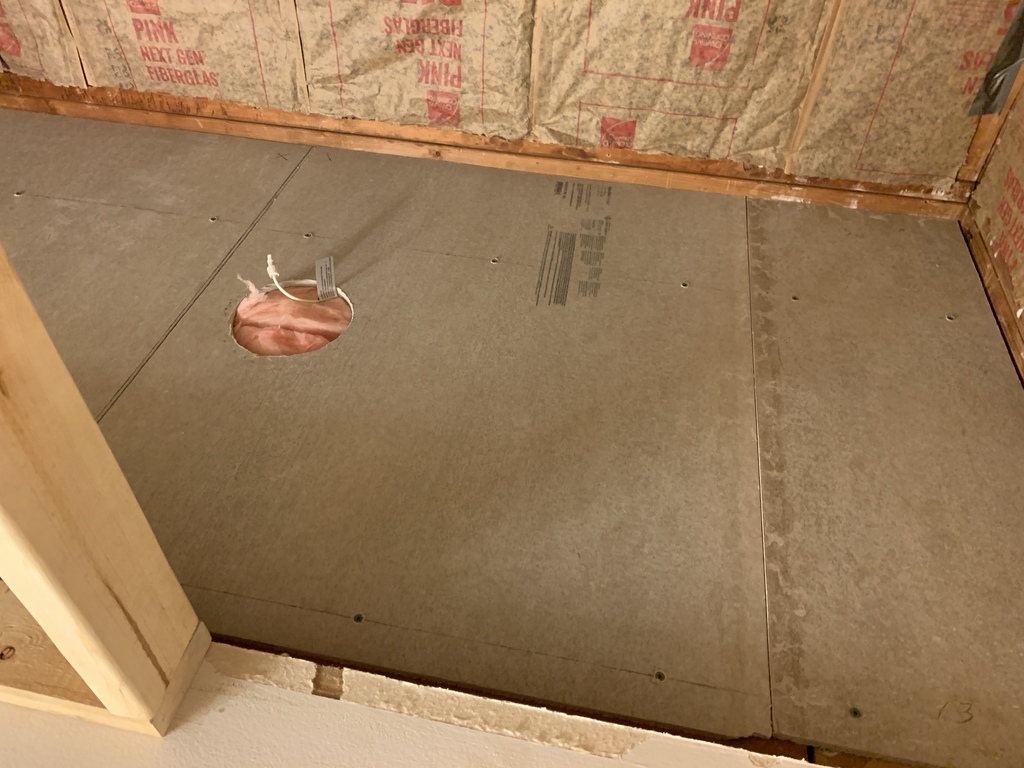
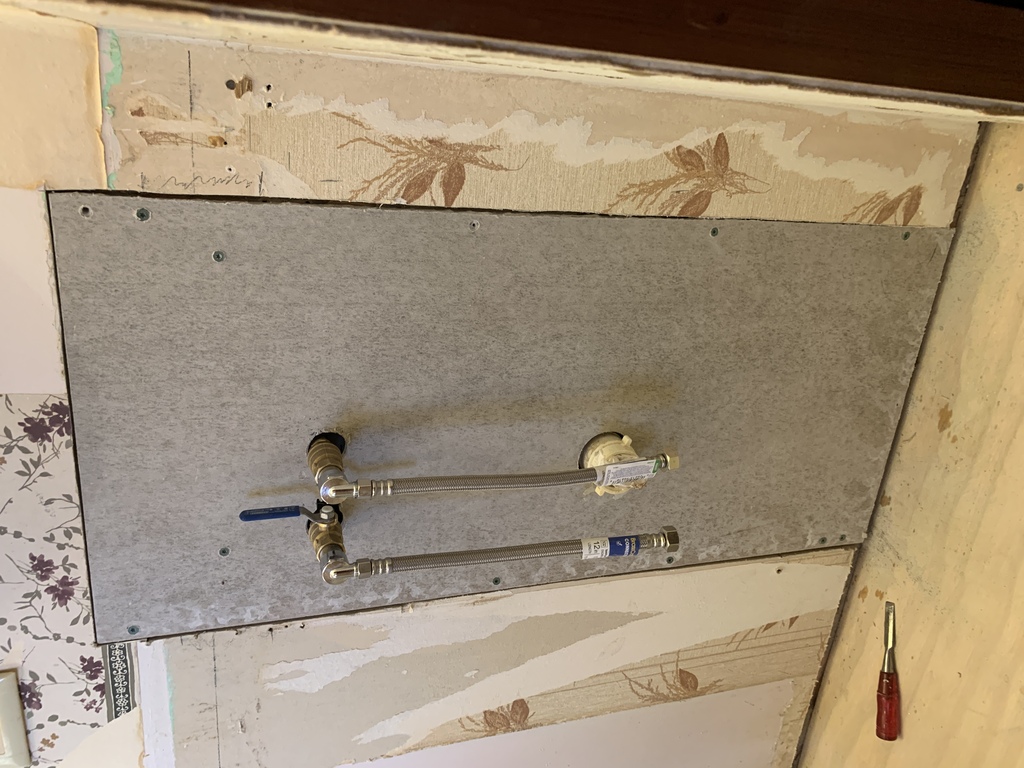
Cement backerboard started a month later, 20 Feb. I needed to do the plumbing and wiring, and have the rough inspection done first.
Pre-inspection movie for Rick's plumber friend
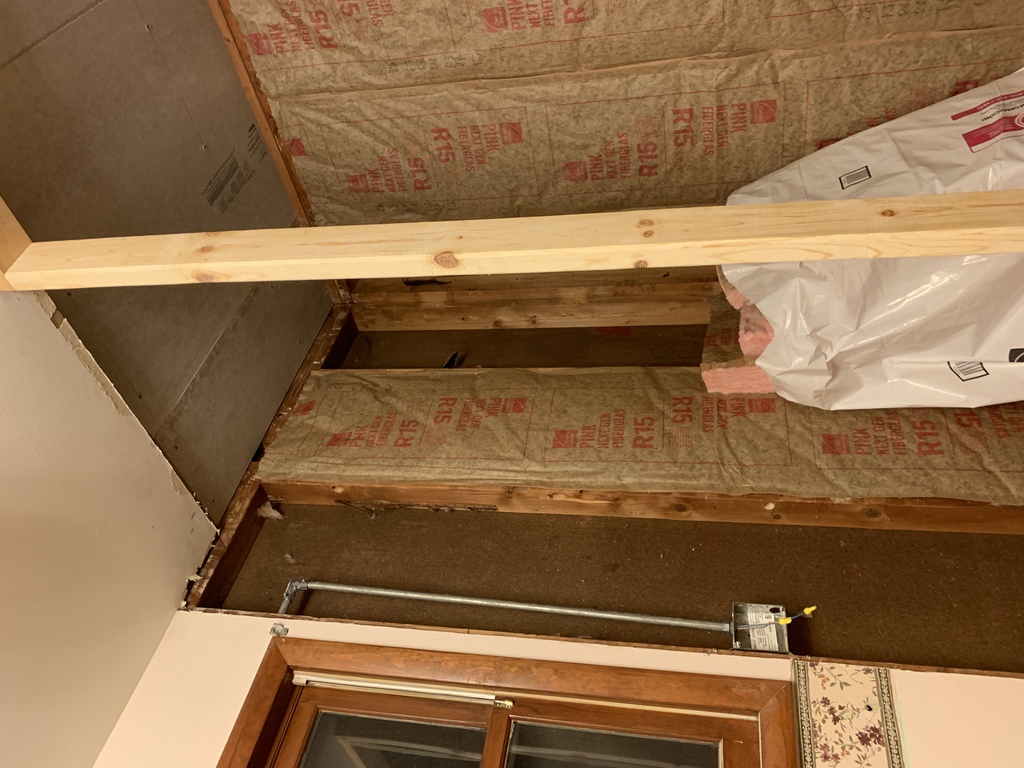
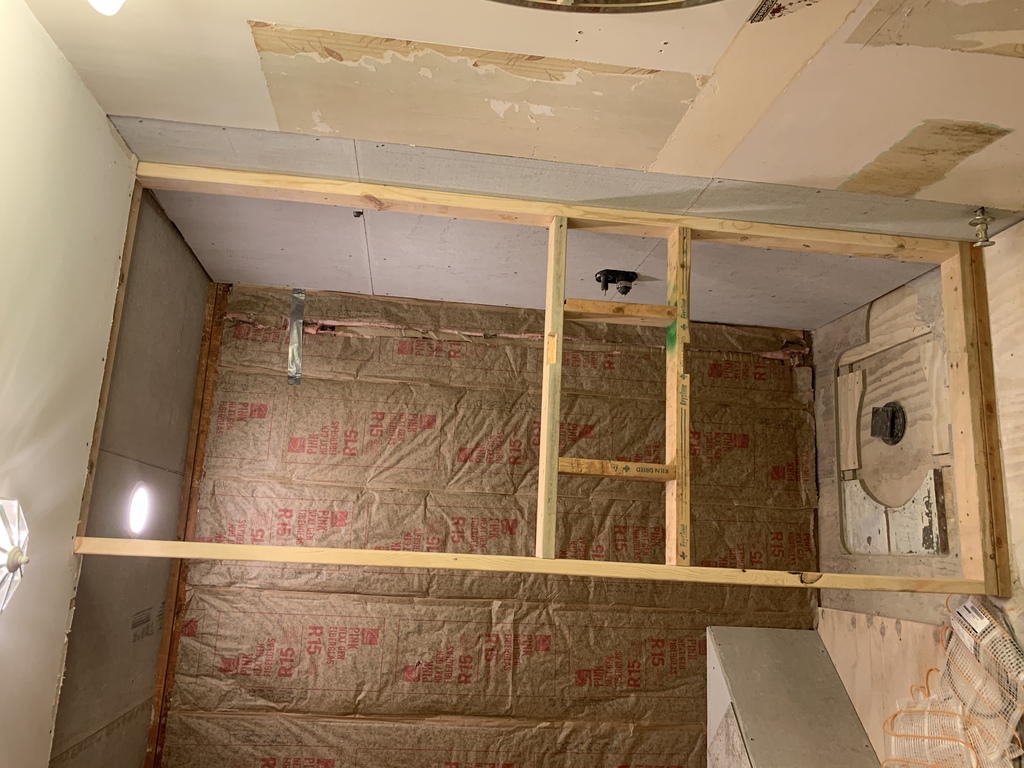
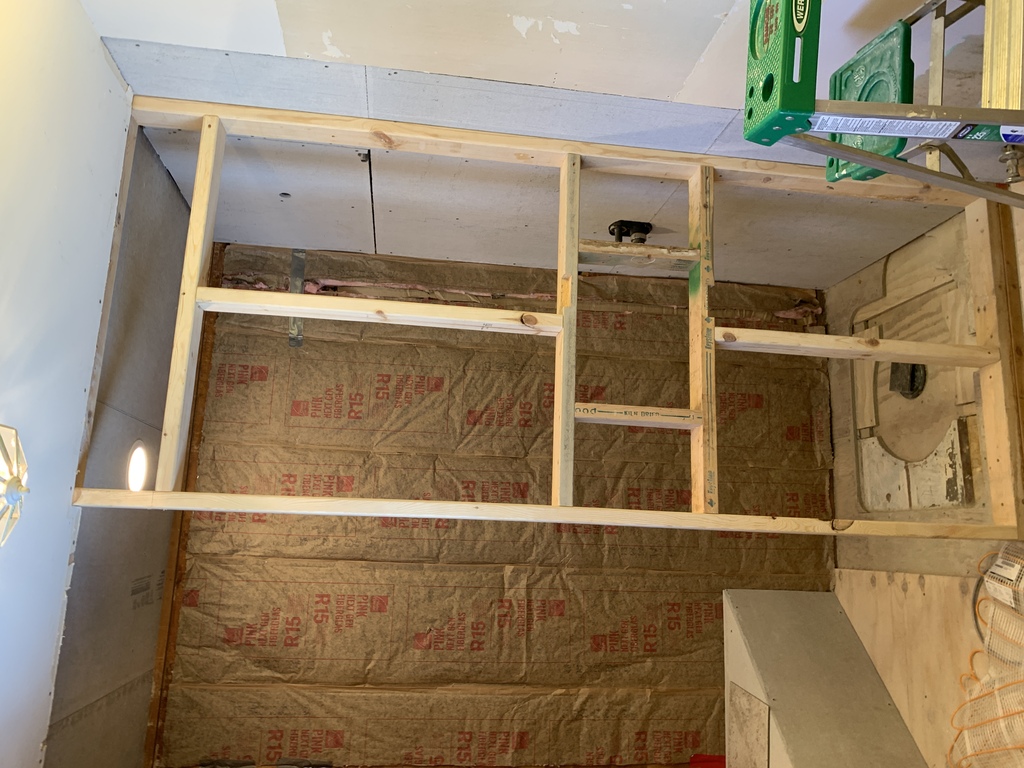
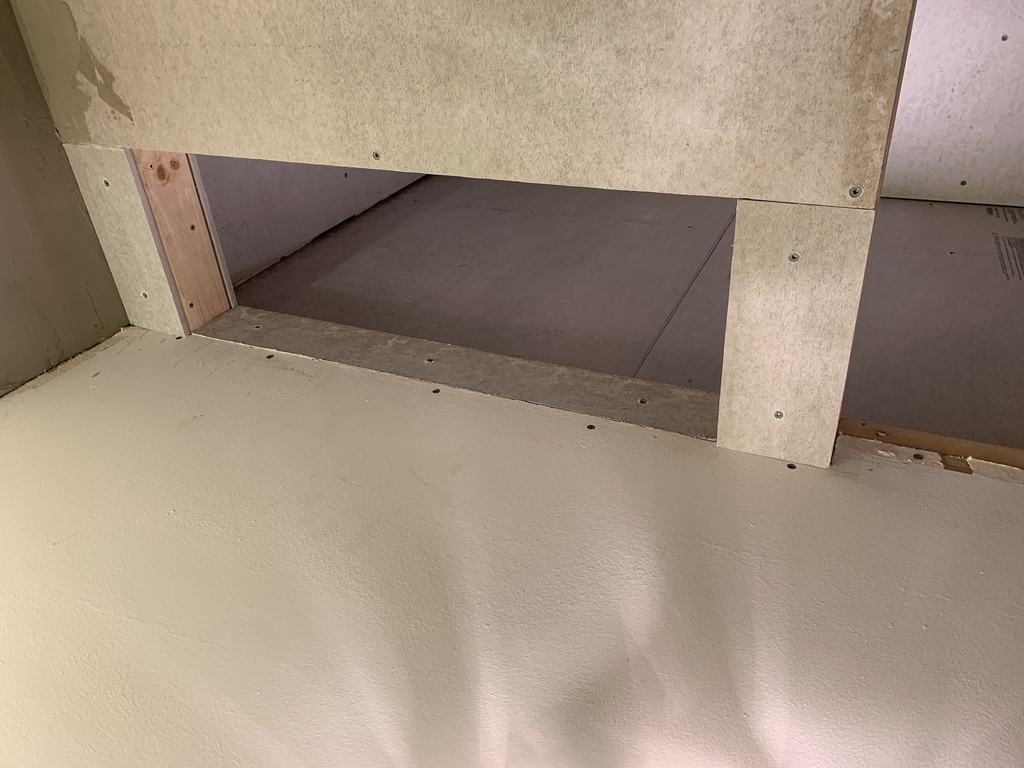
I sistered a 2x6 along a rafter, in order to anchor the top of the wall where I wanted it to go.
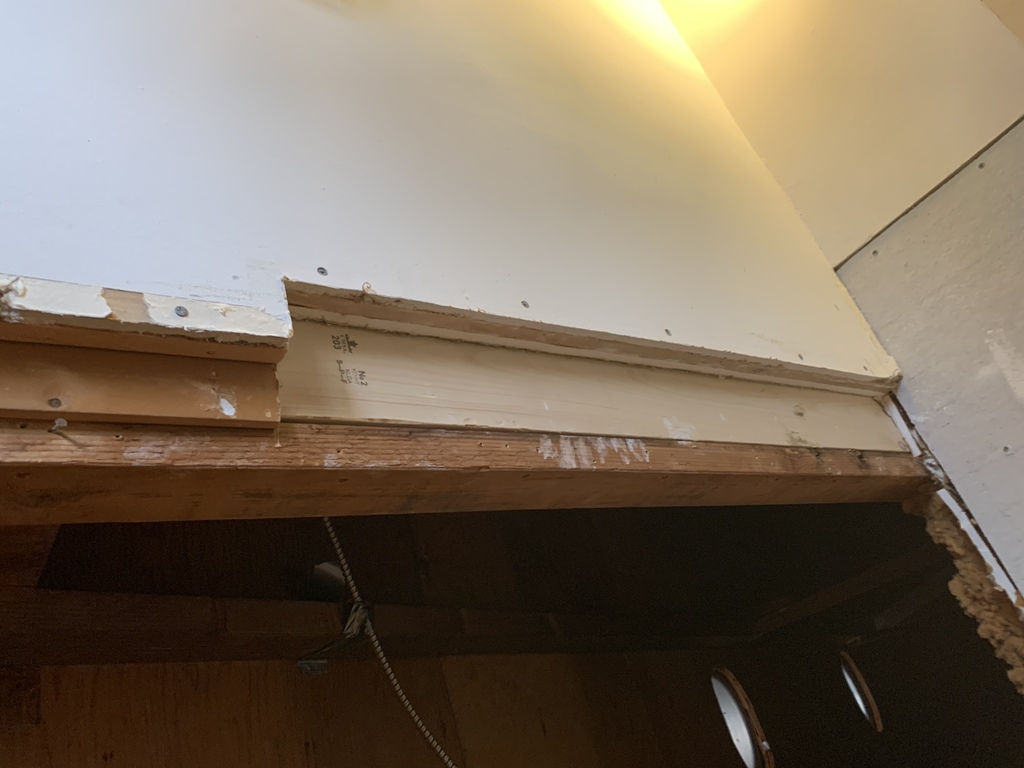
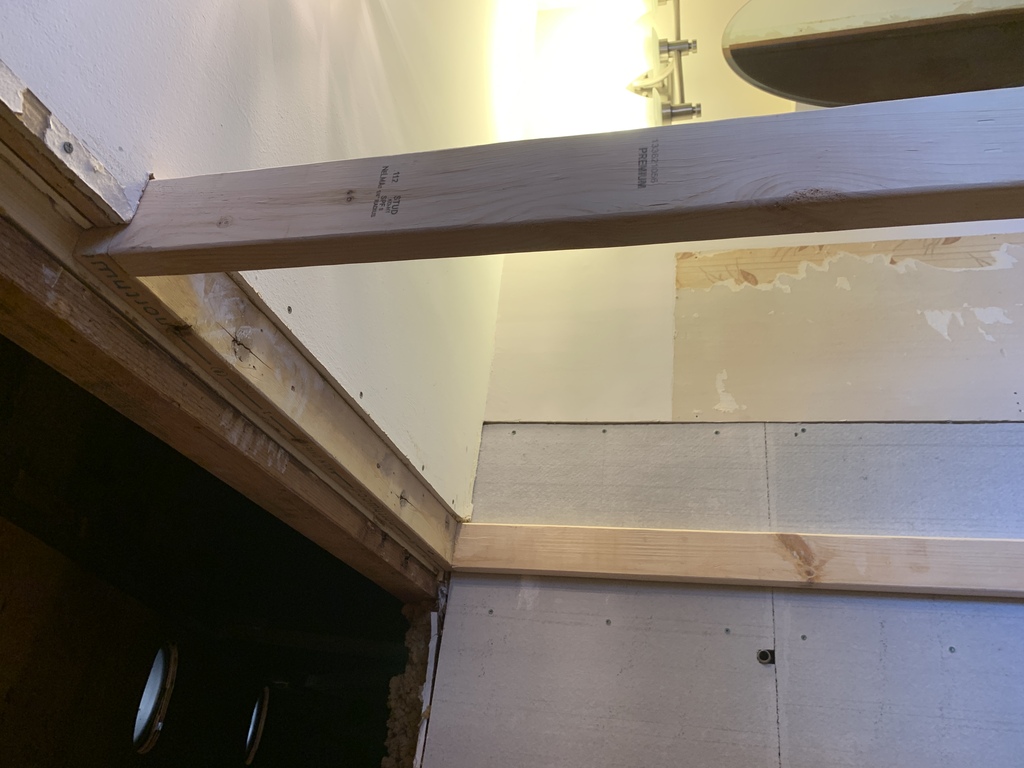
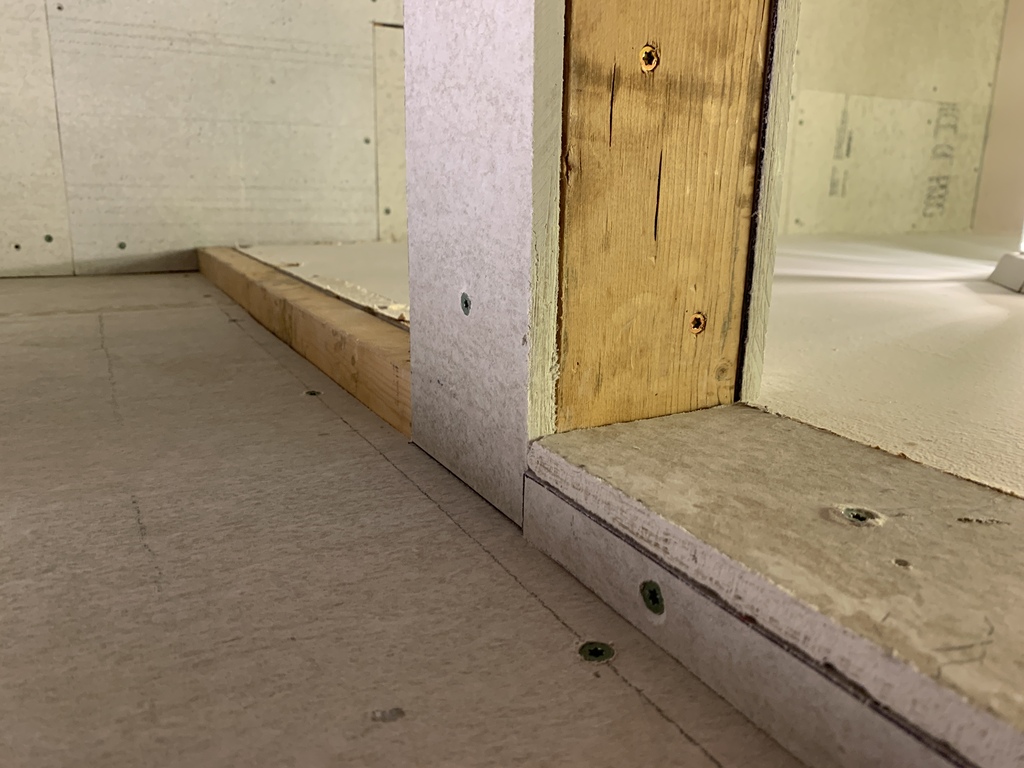
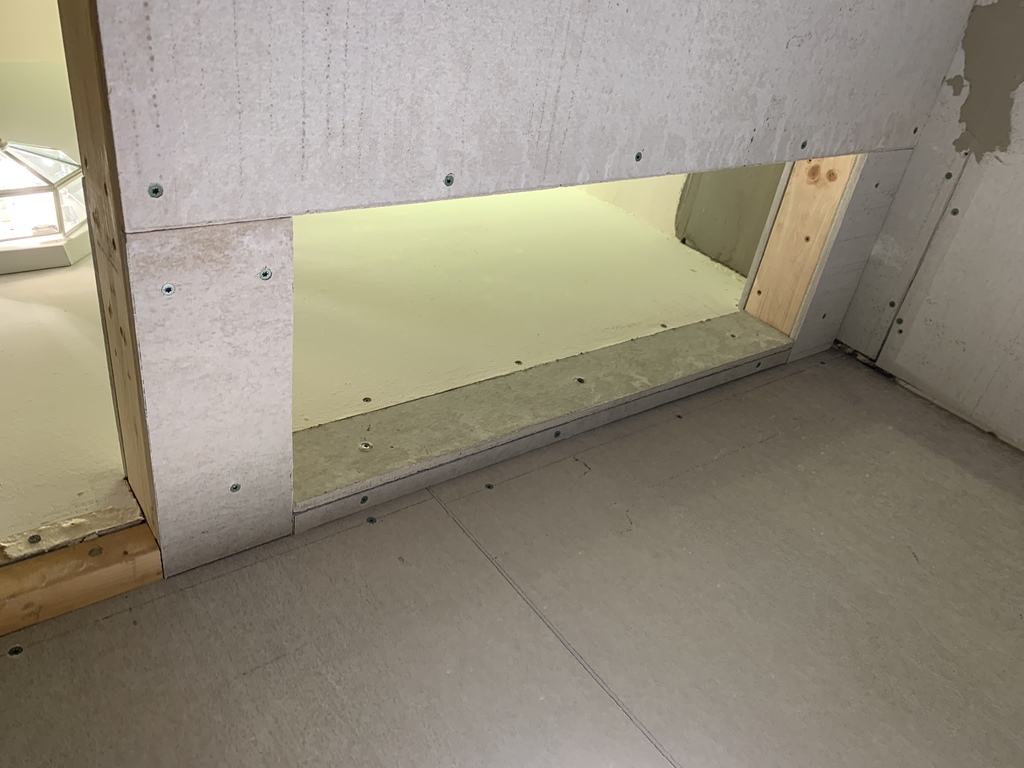
The height difference between the shower ceiling and the rest of the bathroom was an issue. I resolved it by adding a 2x2 after putting up the rest of the backer board. In retrospect, I should have put the 2x2 on the bottom of the rafters, and just lowered the shower ceiling by 2 inches.


Grace asked for the steam vent.